- Have the robot rolling around in the sphere
- Have audio and tilt sensors working
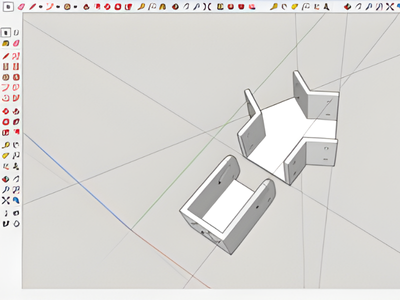
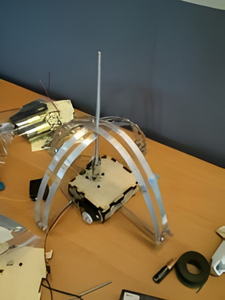
- Have a design for the arm for guiding the head designed
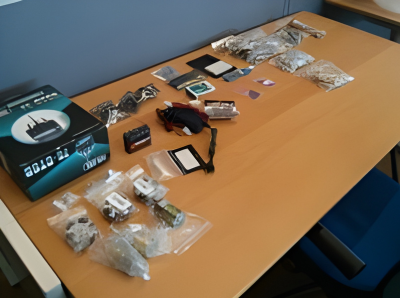
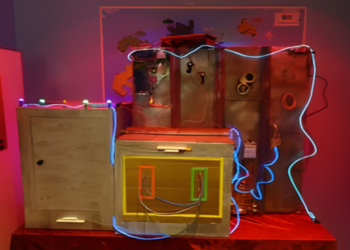
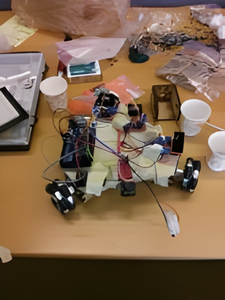
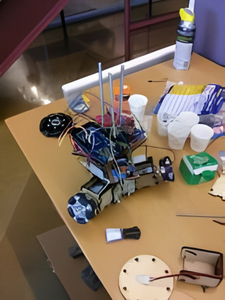
- 6 Channel Radio Control
- Arduino Mega (Lots of channels for controlling individual parts)
- Motors/Gearboxes
- Motor Controllers
- Omni-wheels (Wheels that slip in one direction, can apply power in another)
- Tilt Sensor
- Audio Controllers
- 2 20 inch half spheres
- 12 volt battery
- Our motors are not fast enough at 100 RPM Output (1000 RPM Output motors were ordered off of Amazon, and were expected to arrive Wednesday)
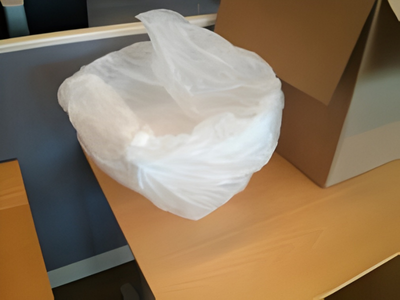
- Sealing the 2 semi-spheres together could be problematic (Contact paper will be used temporarily to test the sphere)
- The weight of the robot inside the sphere will need to be heavy enough to ensure that it will not flip inside the sphere, but light enough to be supported by its wood frame (We will not be able to test this until the frame is built, and the sphere is sealed. Wiring will have to be completed as well)
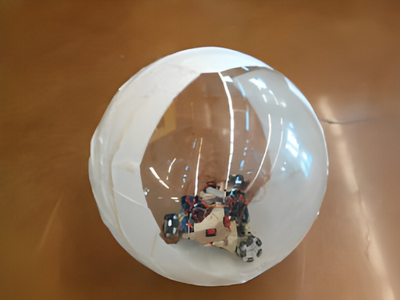
- A sealing system for the ball. The batteries need to be replaceable, and the robot needs to be able to move around freely. The assumption at this point is that we will need to build a “easter egg” like system for easy opening and closing of the ball.
- A working arm and head guiding system. We need to complete the servo controlled arm and a mounting system.
- A rolling head, with matching magnets to be guided by 2. This will require antenna, optical sensors and some lights.
- Audio system. Having 2 channels of audio for background and sound effects.
- Hacking the 6th channel for activating the audio effects. This will require an additional Arduino on the controller, as well as several buttons for triggering.
- Final paint on the ball and the head